> For the complete documentation index, see [llms.txt](https://docs.scannit.io/llms.txt). Markdown versions of documentation pages are available by appending `.md` to page URLs; this page is available as [Markdown](https://docs.scannit.io/how-to-get-started/everything-quests/uploading-receipts.md).
# Uploading Receipts
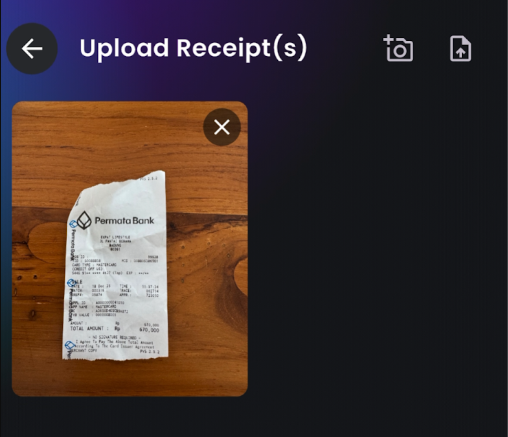
Quests are a great way to earn, but did you know they aren’t the only way to grow your balance? With Scannit, your regular **shopping receipts** can actually earn you points!
It is a quick and easy way to get rewarded for your everyday shopping. Here are the two simple ways you can **upload your receipts** and start earning.
### Option 1: Upload from your Gallery
If you prefer taking photos first and uploading them later, follow these steps:
{% columns %}
{% column %}

{% endcolumn %}
{% column %}
#### **1. Take the photo:**
Use your phone’s regular camera to snap a picture of your receipt. Make sure the lighting is good and all the text is readable.
{% endcolumn %}
{% endcolumns %}
{% columns %}
{% column %}
#### 2. Open Scannit:
Tap the Scan button (the center icon) at the bottom of the app.
#### 3. Select Gallery:
Two options will appear. Tap the icon on the right to access your camera roll.
{% endcolumn %}
{% column %}

{% endcolumn %}
{% endcolumns %}
{% columns %}
{% column %}
{% endcolumn %}
{% column %}
#### 4. Upload:
Select the receipt photos you want to submit and tap Done.
{% endcolumn %}
{% endcolumns %}
### Option 2: Scan Directly in the App
If you have your receipts right in front of you, this is the fastest method:
{% columns %}
{% column %}

{% endcolumn %}
{% column %}
#### 1. Open Scannit:
Tap the **Scan Button** in the middle of the bottom menu.
#### 2. Open Camera:
Choose the **left option** (the camera symbol).
{% endcolumn %}
{% endcolumns %}
{% columns %}
{% column %}
#### 3. Scan:
Hold your phone steady over the receipt. The app will scan it automatically.
#### 4. Confirm:
Ensure the image is clear and sharp before finishing.
{% endcolumn %}
{% column %}

{% endcolumn %}
{% endcolumns %}
### Pro-Tips for Successful Scanning
To make sure your receipts are accepted and you get your points every time, keep these tips in mind:
* **Capture the whole receipt:** Ensure the store name, date, total amount, and all items are visible.
* **Stay focused:** Blurry images are the #1 reason for rejected receipts.
* **Flat surface:** Lay your receipt on a flat surface to ensure all the data is readable.
\
**Why was my receipt rejected?** The most common reason for a rejection is a blurry photo or missing information. Always double-check that the image is high quality before you hit submit!
#### Keep the Momentum Going!
While our team checks your receipts, why not head back to the map? You can earn even more by completing a few quests.